
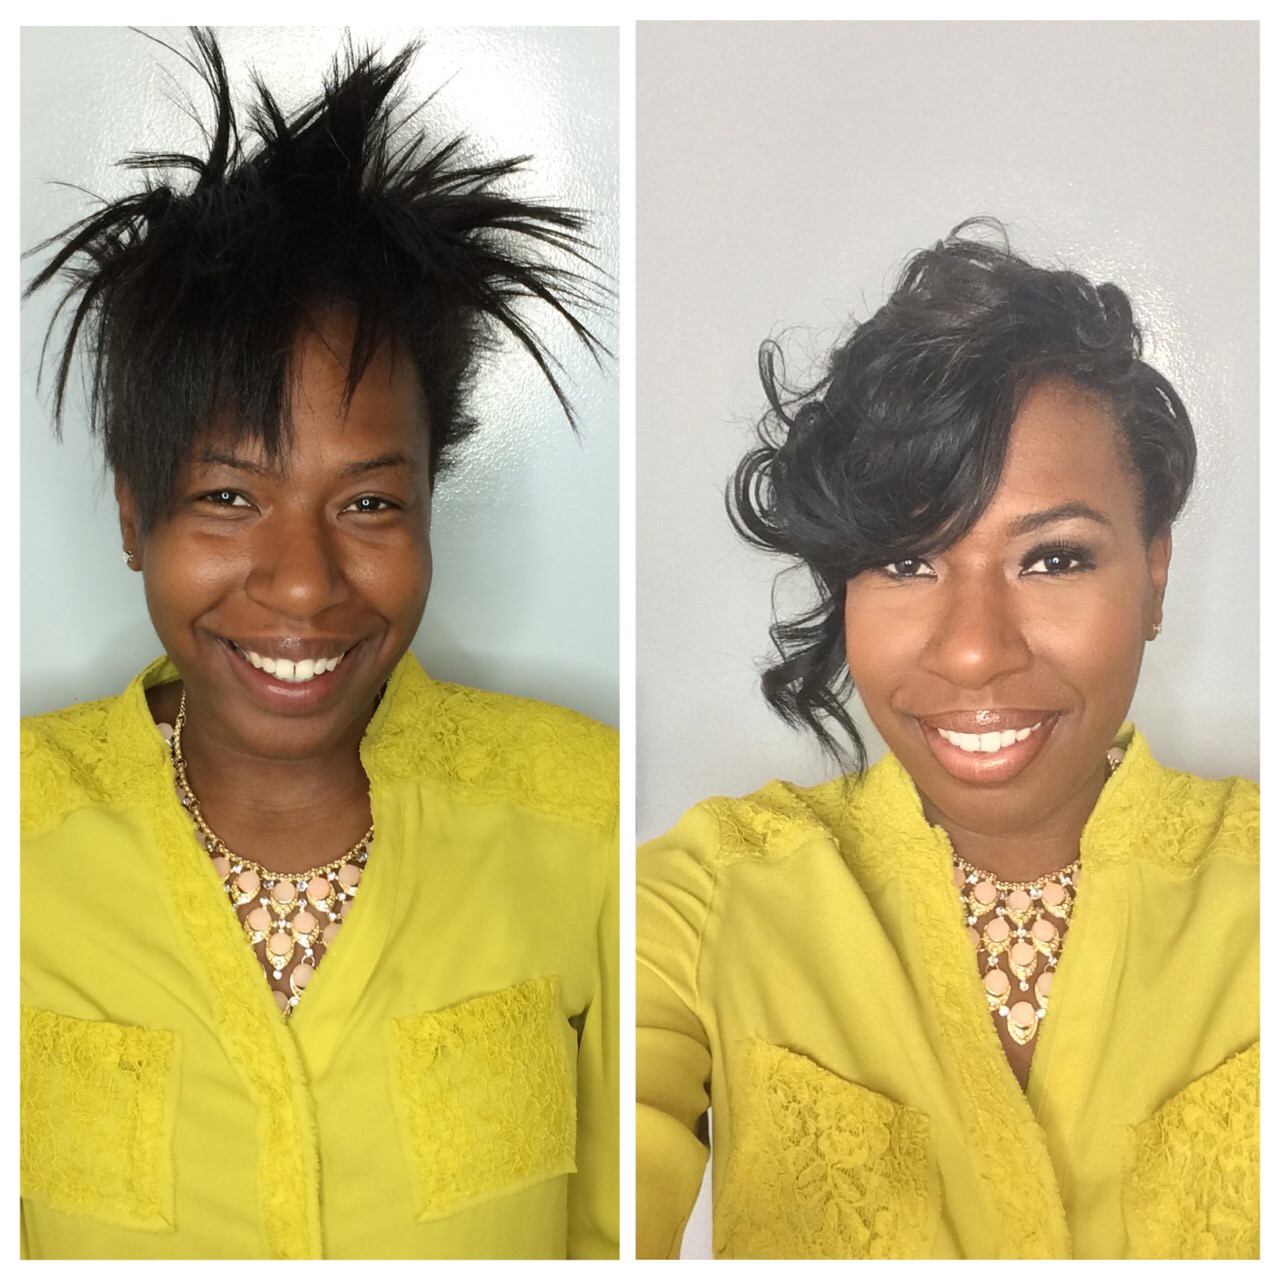
A few weeks ago I was out shopping and I kept noticing all these sale signs in front of the beauty supply store. Now, I can remember the last time I purchased from my beauty supply store but the deals were too great to pass up! I came across these tons of clip-in extensions for less than $20 with different textures and lengths.

Clip-ins have been on my to-do list for quite some time since I’m not a fan of glue I couldn’t resist the urge to try them. Check out how I installed them below…
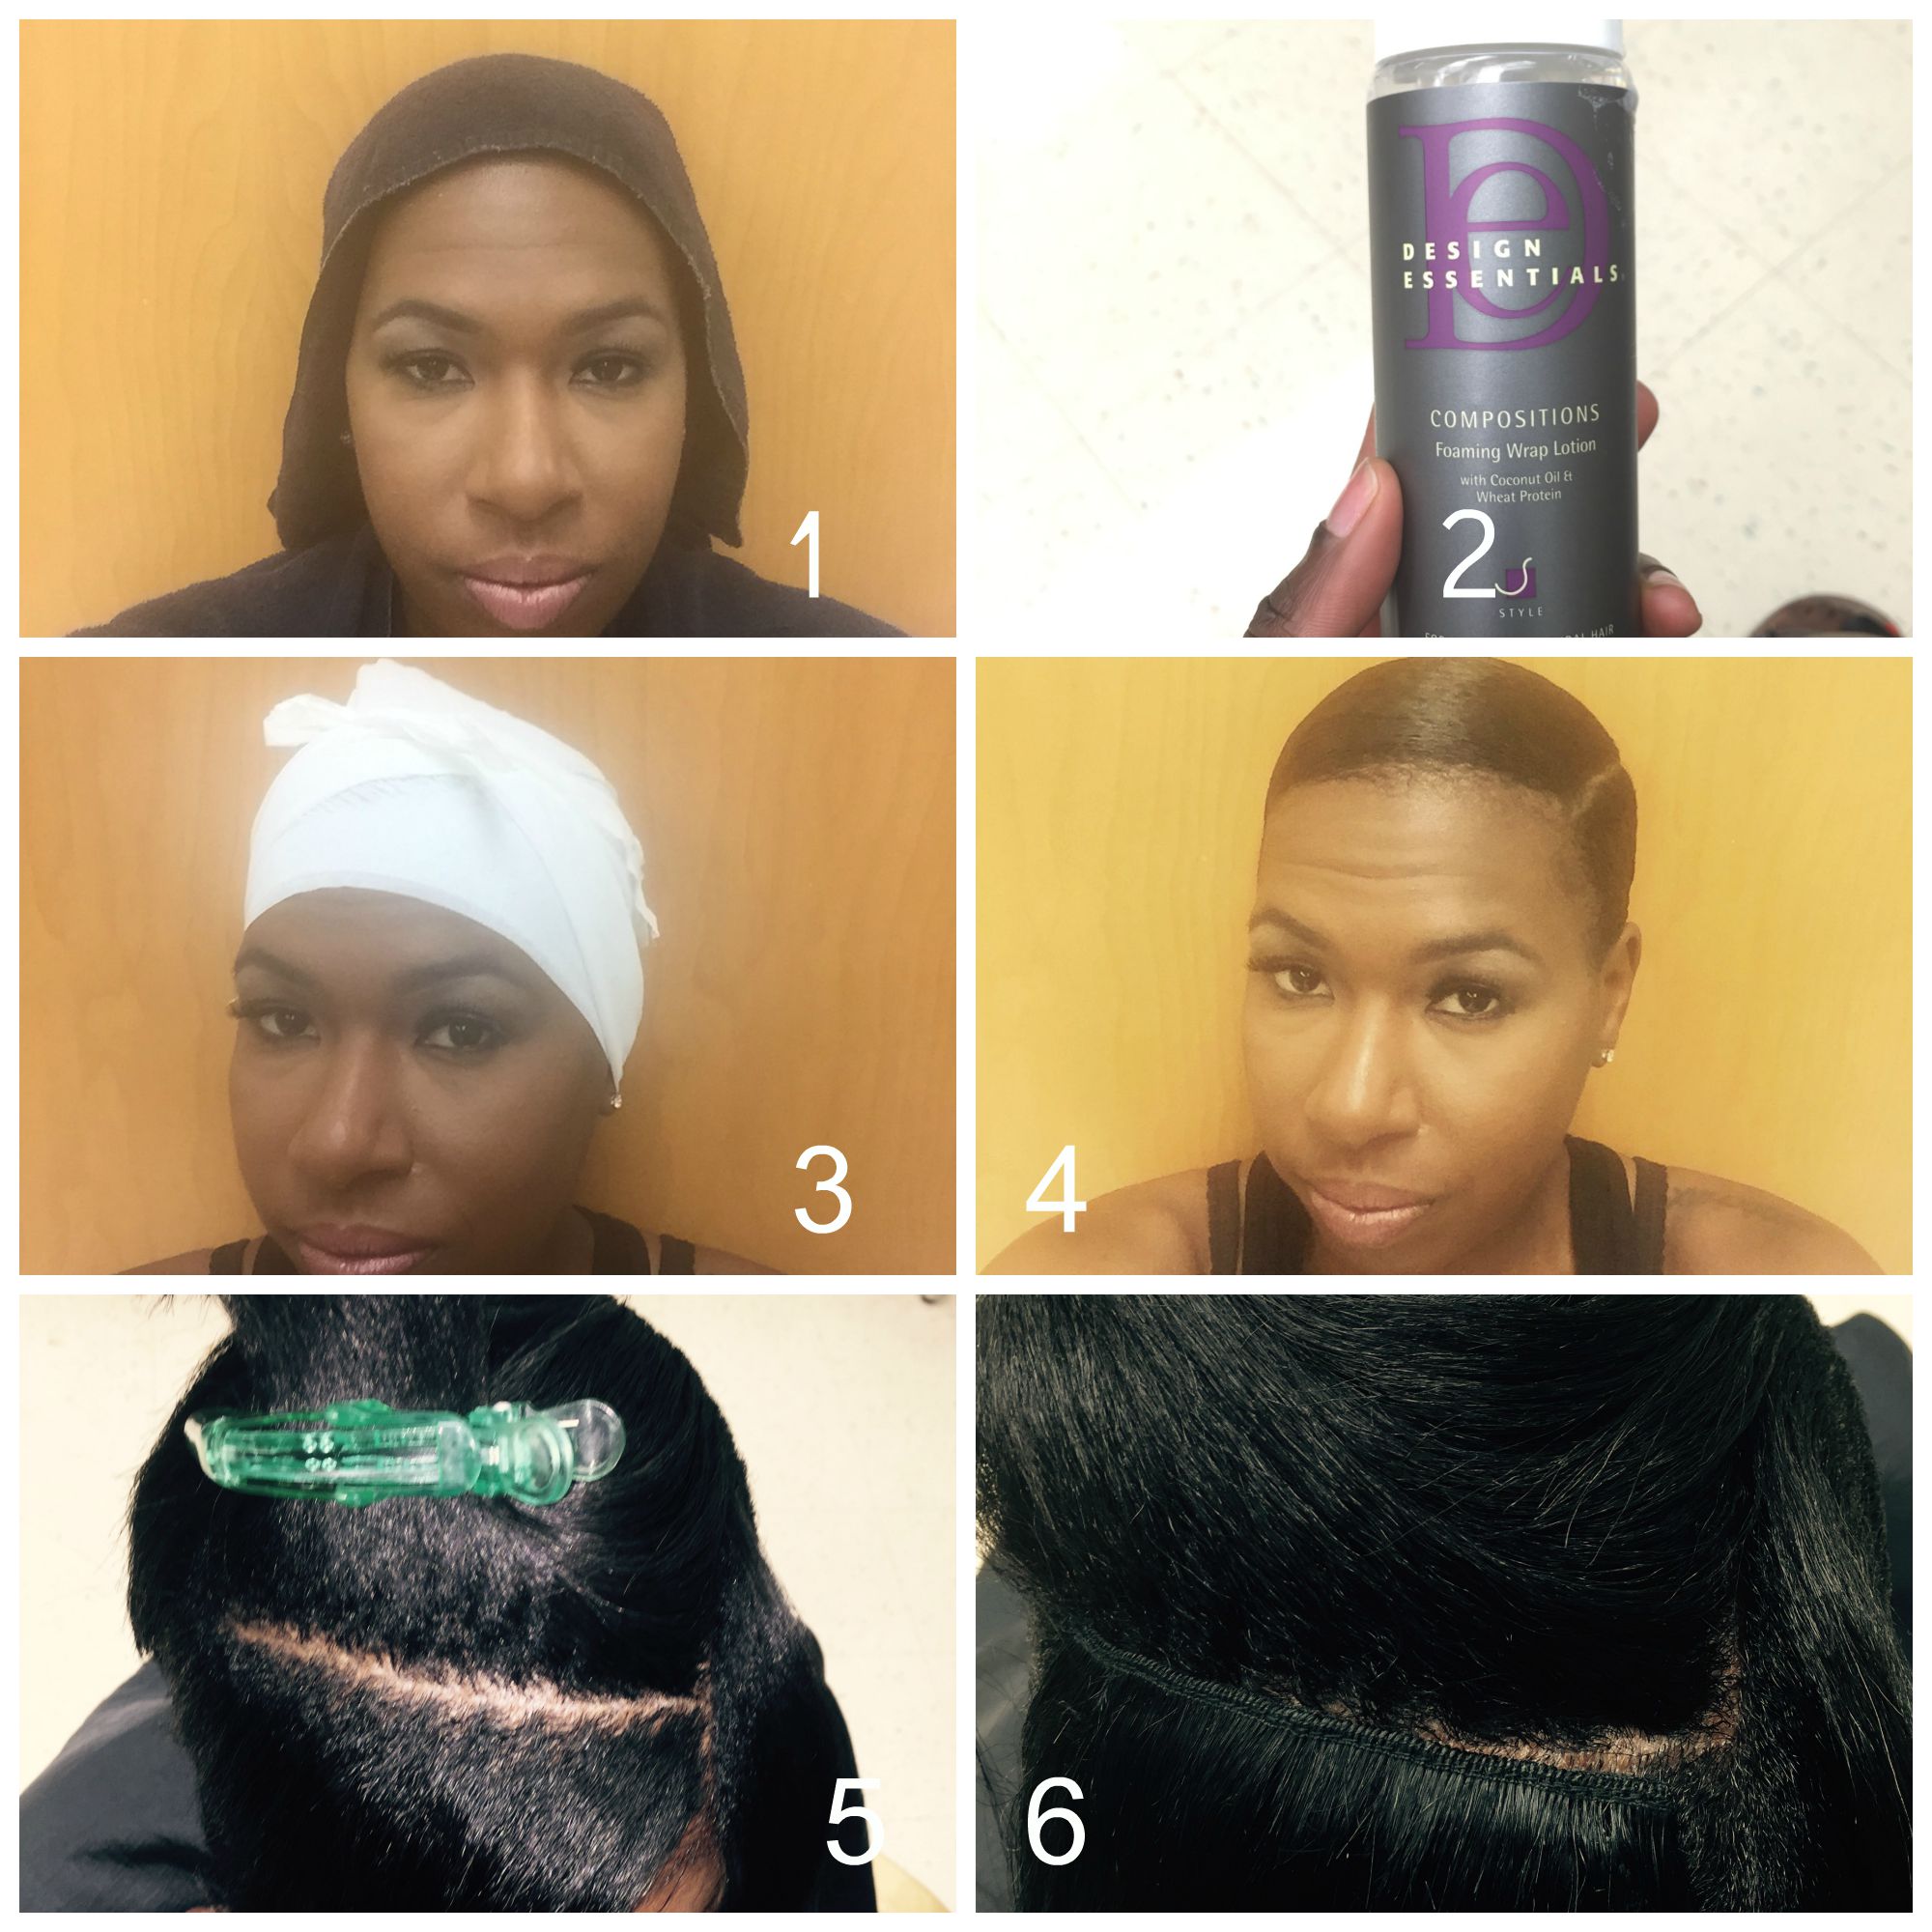
Step 1: This step is optional. I started with freshly washed hair. I always start with this step because I have short hair that needs to be molded. If you have longer hair that doesn’t need washing skip to step 5.
Step 2: I used Design Essentials foaming wrap lotion to mold my hair.
Step 3: I tied 3 Wrapp-It strips to hold my hair in place for the drying process
Step 4: Sit under the dryer for 30-45 minutes. Remove the styling strips during the last 15 minutes of drying.
Step 5: Part your hair how you want the clip-ins to lay.
Step 6: Lightly tease your hair at the root and clip in the extensions.
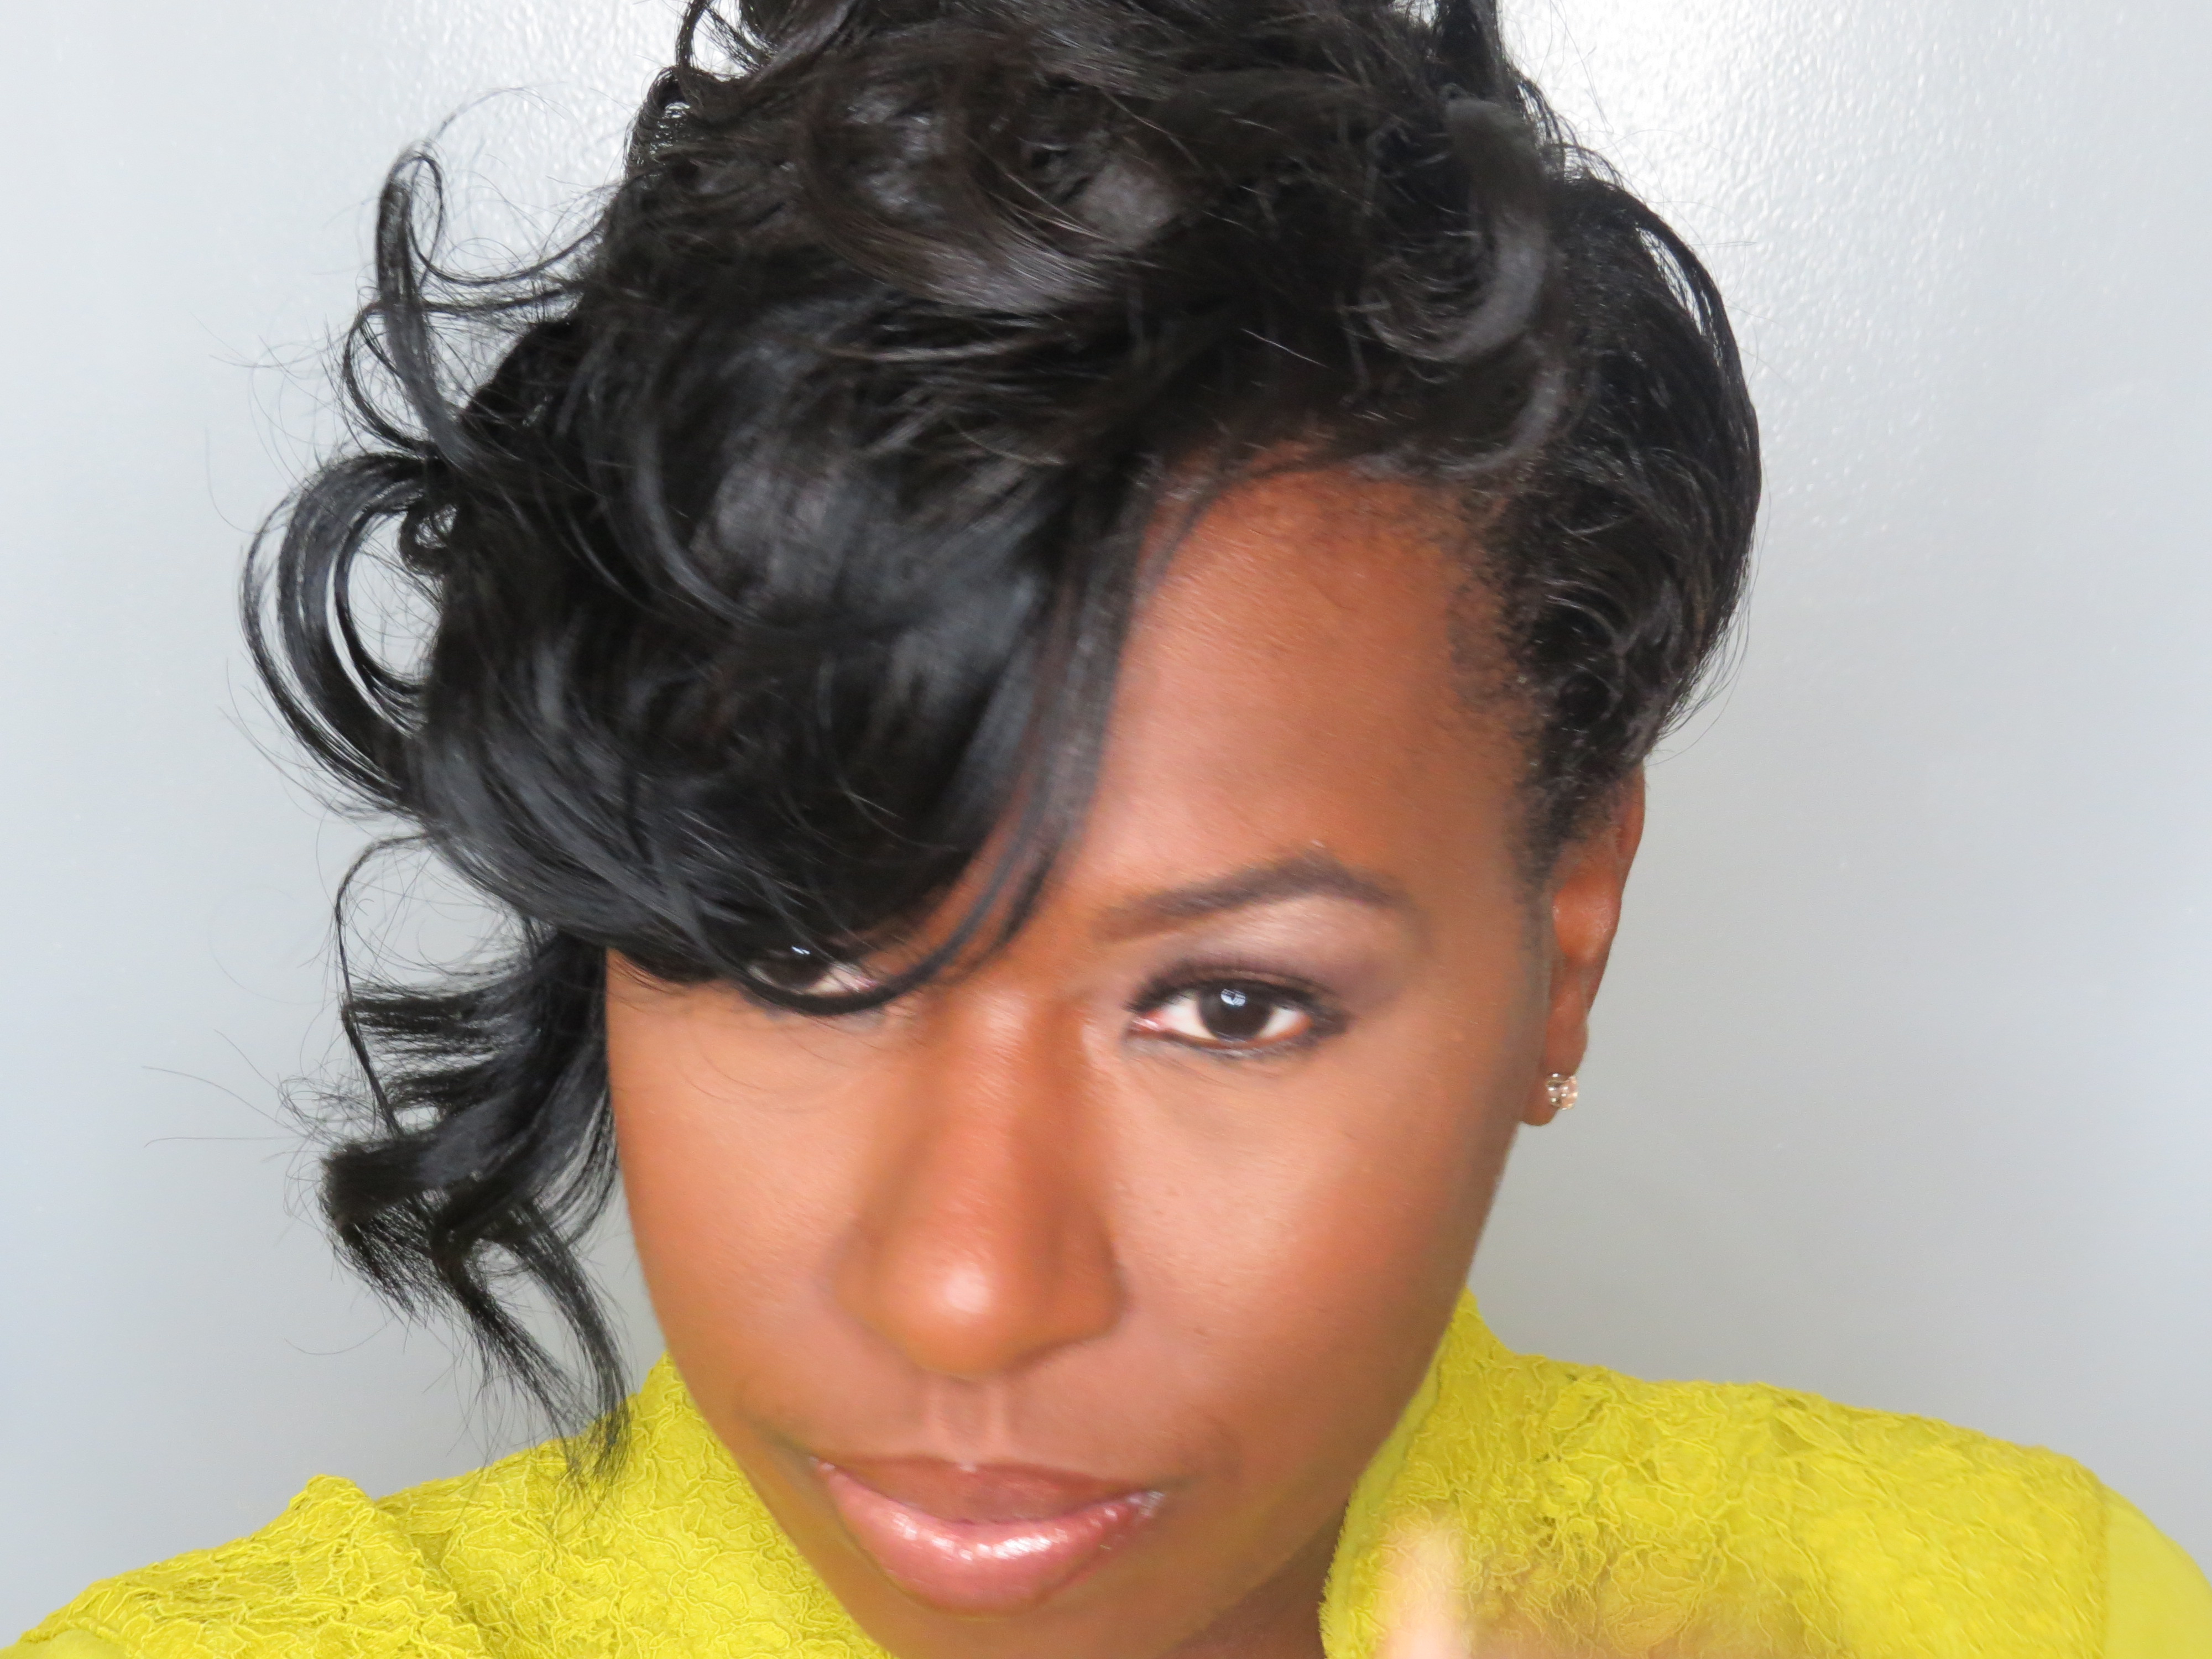
Step 7: If you desire curl your hair to your liking.
I absolutely love the way this look turned out! I am not a beautician not have I attended cosmetology school. I just love experimenting with my hair! If you are natural I would suggest you experiment with clip- in extensions especially if you’re uncomfortable with your twa.
Do you like it? Have you tried clip in extensions? Share your experience in the comments below…

Wow you did that!
LikeLike
thank you girl!!
LikeLike
Love it! Once again you keep raising the bar!!
LikeLike
Girl, I’m trying!! Stay tuned…
LikeLike
I love the look. Which beauty supply store did you go to buy those clip ins? I live in Richmond also. 🙂
LikeLike
I am so sorry I don’t remember the name. I just happened to stumble across one, sorry! Thank you so much for reading
LikeLike